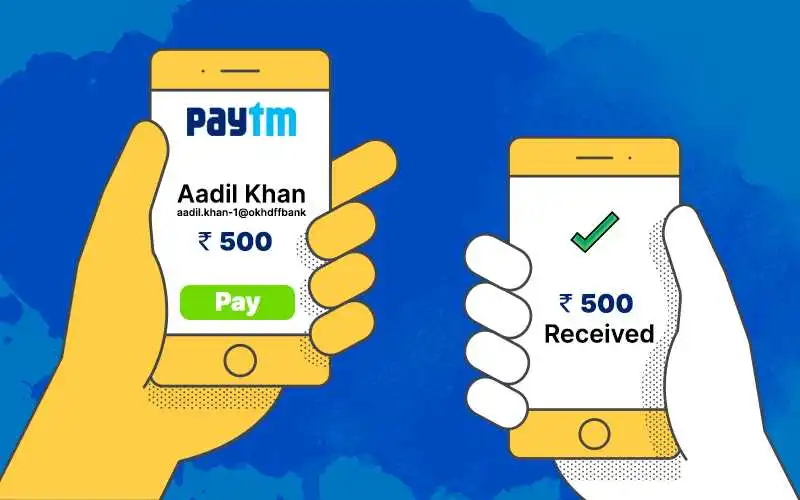
Welcome to the world of the Unified Payments Interface (UPI)! If you’re looking to simplify your money transfers and make transactions smoother, you’re in the right place.
UPI has revolutionized the way we handle money, offering a seamless and efficient way to transfer funds.
In this guide, we’ll walk you through everything you need to know about transferring money using UPI. Let’s dive in!
What is UPI?
UPI stands for Unified Payments Interface. It’s a digital payment system developed by the National Payments Corporation of India (NPCI) that enables instant money transfers between bank accounts using a mobile device.
Think of UPI as a one-stop-shop for all your financial transactions – it’s fast, convenient, and incredibly user-friendly. Launched in 2016, UPI has quickly become a preferred method for making payments and transferring money across India.
Benefits of Using UPI
Why should you use UPI? The benefits are plenty! Firstly, UPI offers instant transactions. Unlike traditional banking methods that can take days, UPI transfers happen in real-time. Secondly, you don’t need to share your bank details.
All you need is a UPI ID, which keeps your financial information secure. Additionally, UPI is convenient and integrates with multiple banks and apps, making it a versatile choice for managing your finances.
How to Set Up UPI
Setting up UPI is a breeze! Here’s how you can get started:
- Download a UPI-Enabled App: Start by downloading a UPI-compatible app from your app store. Popular options include Google Pay, PhonePe, and Paytm.
- Register with Your Mobile Number: Open the app and register using your mobile number. Make sure this number is linked to your bank account.
- Create a UPI ID (VPA): Choose a unique UPI ID (Virtual Payment Address) which will be used for transactions. It usually looks like yourname@bankname.
- Link Your Bank Account: Select your bank from the list and link it to your UPI ID. This process might involve verifying your account details.
- Set Up a UPI PIN: Create a secure UPI PIN that you’ll use to authorize transactions. This PIN is unique to your account and should be kept confidential.

Add Money Payment Apps
Step-by-Step Guide to Transfer Money Using UPI
Transferring money through UPI is straightforward. Here’s a step-by-step guide:
- Step 1: Open Your UPI-Enabled App: Launch the UPI app you’ve chosen and log in.
- Step 2: Select ‘Send Money’ or Similar Option: Find the option for sending money or making a payment.
- Step 3: Enter the Recipient’s UPI ID or Mobile Number: Input the recipient’s UPI ID or mobile number linked to their bank account.
- Step 4: Enter the Amount You Wish to Transfer: Specify the amount you want to send.
- Step 5: Add a Note or Description (Optional): You can add a note to describe the payment, like “Dinner” or “Rent.”
- Step 6: Confirm the Transaction: Review the details of the transaction to ensure everything is correct.
- Step 7: Enter Your UPI PIN: Authenticate the transaction by entering your UPI PIN. Once confirmed, the money will be transferred instantly.
Tips for Secure UPI Transactions
Security is crucial when dealing with financial transactions. Here are some tips to keep your UPI transactions safe:
- Avoid Sharing Your UPI PIN: Never disclose your PIN to anyone, even if they claim to be from your bank.
- Use Strong, Unique Passwords for Your UPI App: Ensure your app password is robust and different from your other passwords.
- Regularly Monitor Your Bank Statements: Check your statements frequently to spot any unauthorized transactions.
- Be Cautious of Phishing Scams: Be wary of emails, messages, or calls asking for your UPI details. Always verify the source before responding.
Troubleshooting Common UPI Issues
Sometimes, things might not go as planned. Here’s how to handle common UPI issues:
- Transaction Failed: Check your internet connection and ensure your app is updated. If the issue persists, contact your bank.
- Incorrect UPI ID: Verify the recipient’s UPI ID before making the transfer to avoid mistakes.
- UPI PIN Issues: If you’ve forgotten your PIN, follow the app’s instructions to reset it.
- Bank Account Not Linked: Ensure your bank account is properly linked and verified in the app.
UPI vs Other Payment Methods
Let’s compare UPI with other payment methods:
- UPI vs Credit/Debit Cards: UPI doesn’t require you to carry physical cards and offers instant transfers, whereas credit/debit cards might take longer and require card details.
- UPI vs Net Banking: UPI is generally more user-friendly and faster compared to traditional net banking.
- UPI vs Digital Wallets: While digital wallets are convenient, UPI doesn’t require you to maintain a separate balance and is directly linked to your bank account.
How to Handle Disputes and Refunds
If you encounter any issues, such as unauthorized transactions or errors, you can handle them as follows:
- Reporting Unauthorized Transactions: Contact your bank immediately and report the incident. They will guide you through the process of resolving the issue.
- Initiating Refund Requests: Use the app’s refund feature or contact customer support for assistance.
- Contacting Customer Support: Reach out to your app’s customer support for help with any transaction problems or disputes.
International Transfers with UPI
Currently, UPI is primarily used for domestic transactions within India. However, there are discussions about expanding its functionality for international transfers in the future. Keep an eye out for updates on this front.
The Future of UPI
UPI is evolving rapidly. Future trends might include enhanced security features, broader international use, and integration with more financial services. As technology advances, UPI is likely to become even more versatile and accessible.
Conclusion
UPI has transformed the way we handle money, making transactions faster, easier, and more secure.
By following the steps outlined above, you can start transferring money with ease and confidence. Embrace the convenience of UPI and enjoy a hassle-free financial experience!